Amidst the hustle and bustle, finding time to connect as a family can often be challenging but we thought, upcoming Spring and Easter breaks present us all with a perfect opportunity to cherish family and to do some fun activities together.
En medio de tantas responsibilidades y distracciones, encontrar tiempo para conectarse como familia a menudo puede ser un desafío, pero pensamos que las próximas vacaciones de primavera y Pascua nos presentan a todos una oportunidad perfecta para apreciar a la familia y realizar algunas actividades divertidas juntos.
So, we have compiled 10 of the most simple, no-fuss activities that families and of course kids can enjoy! Our hope is that these ideas of crafts, snacks and games inspire you and can aid you in sharing the sweetest of memories, belly laughs and beautiful celebration of love and joy with your families and friends this Easter season!
If you try one out, be sure to tag us in your posts or be sure to let us know how it went!
Por eso, hemos recopilado 10 de las actividades más sencillas y sencillas que las familias y, por supuesto, los niños pueden disfrutar. ¡Nuestra esperanza es que estas ideas de manualidades, refrigerios y juegos te inspiren y puedan ayudarte a compartir los recuerdos más dulces, risas y hermosas celebraciones de amor y alegría con tus familiares y amigos en esta temporada de Pascua!
Si pruebas uno, asegúrate de etiquetarnos en tus publicaciones y nos encantaría saber cómo te fue.
Peep marshmallow Houses | Casita para conejito bombÓn
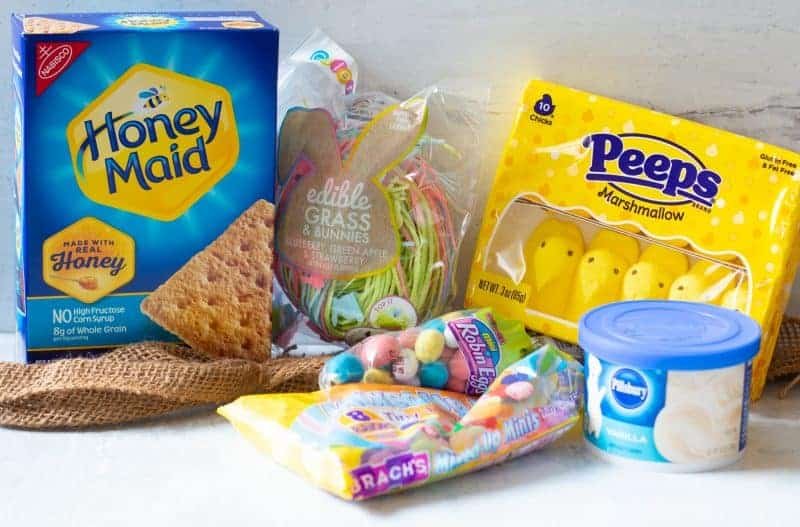
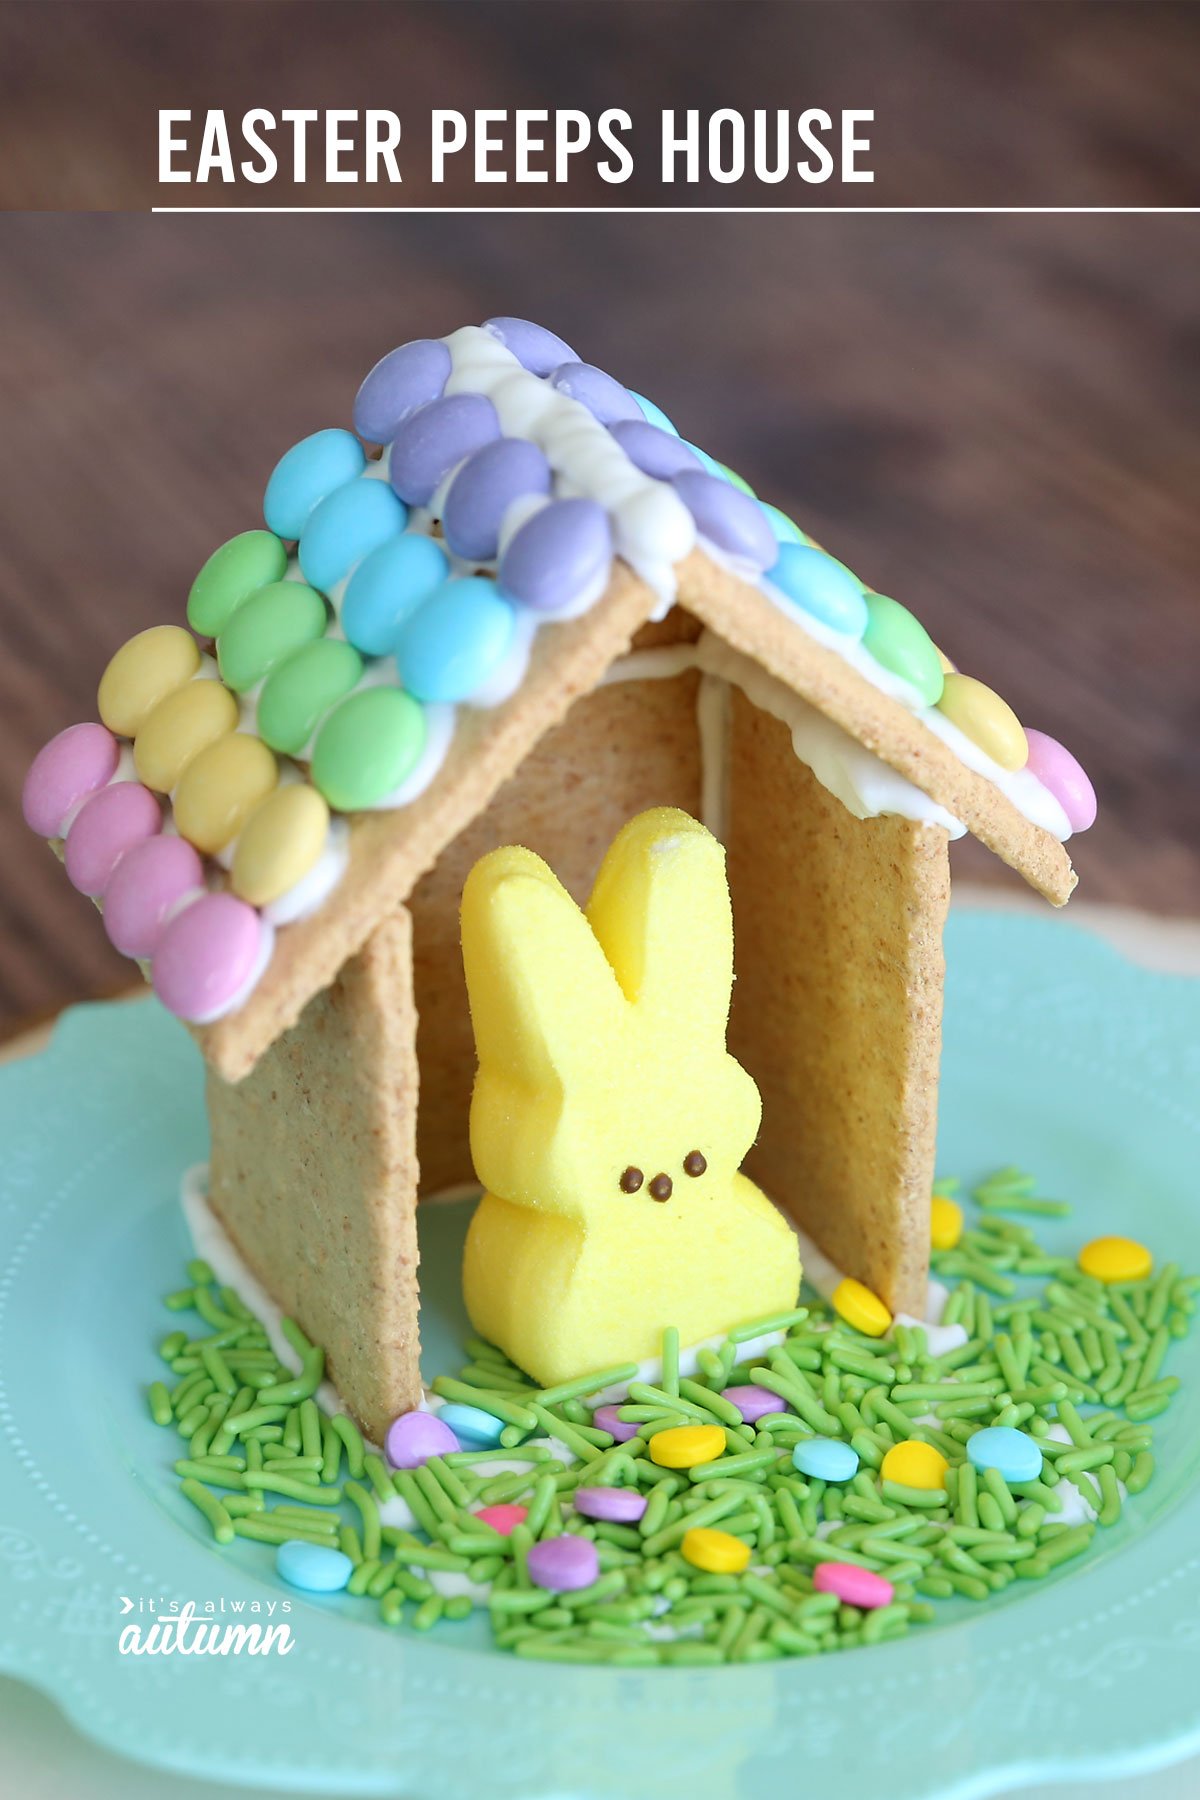
It´s like gingerbread houses but the Easter version! Grab a base for your house like graham crackers and icing as well as different spring-colored candy to decorate! Do individually, work in teams, or hold a friendly Peep competition!
¡Es como casitas de jengibre pero en versión Pascua! ¡Arma una base para tu casa como galletas Graham y betun, así como diferentes dulces de colores primaverales para decorar! ¡Hazlo individualmente, trabaja en equipos o organiza una competencia amistosa de casitas para los Peeps!
Rice Krispy Bird Nests | Nido de pajaro hecho con cereal Rice Krispies
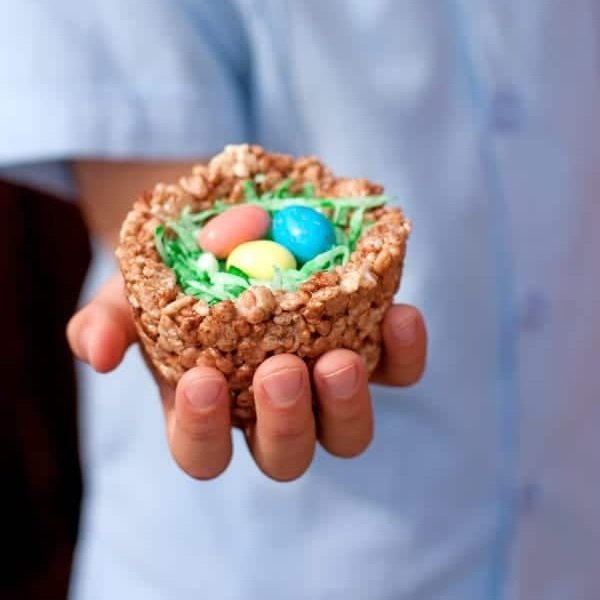
An easy, no-bake recipe that looks festive and tastes great! Add your own special decorative touch! Click on the button to go to the original post where we saw this awesome idea.
¡Una receta fácil, sin hornear, que luce festiva y sabe delicioso! ¡Añade tu propio toque decorativo especial! Haz clic en el botón para ir a la publicación original donde vimos esta increíble idea.
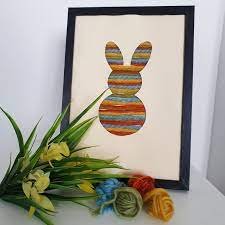
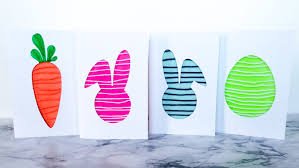
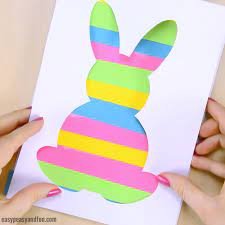
Rabbit Silhouette Art | Arte silueta de conejo
For this easy craft, all you need is paper, scissors, glue and whatever material you want to make the rabbit shape- yarn, ribbon, paper or a combination! We love this craft because it takes little skill but makes great decoration or even cards for loved ones! Click on the button to see a detailed description of the activity.
Para esta manualidad sencilla, todo lo que necesitas es papel, tijeras, pegamento y cualquier material que quieras para darle forma al conejo: hilo, cinta, papel o una combinación. ¡Nos encanta esta manualidad porque requiere poca habilidad pero es una excelente decoración o incluso tarjetas para tus seres queridos! Haz clic en el botón para ver una descripción detallada de la actividad.
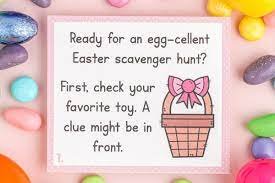
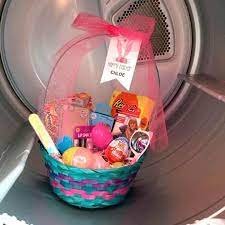
Egg Basket Scavenger Hunt | Busqueda de tesoro
Add a fun twist to normal egg or egg basket hunting by hiding it and leaving clues for your kids or partner to find it! This one does take a little prep but we have found it is so worth it and makes the fun of Easter treats last even longer! Write your own clues or click below to see options of pre-made ones you can buy online as a pdf to print!
¡Agregue un toque divertido a la búsqueda normal de huevos o canastas de huevos escondiéndolos y dejando pistas para que sus hijos o su pareja los encuentren! ¡Este requiere un poco de preparación, pero hemos descubierto que vale la pena y hace que la diversión de las delicias de Pascua dure aún más!
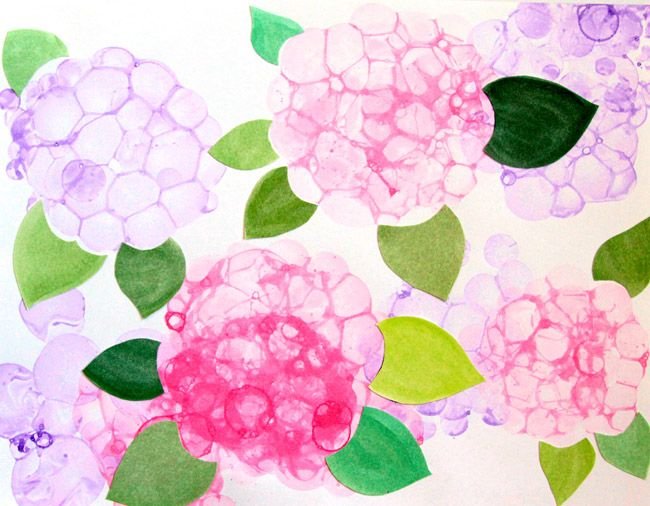
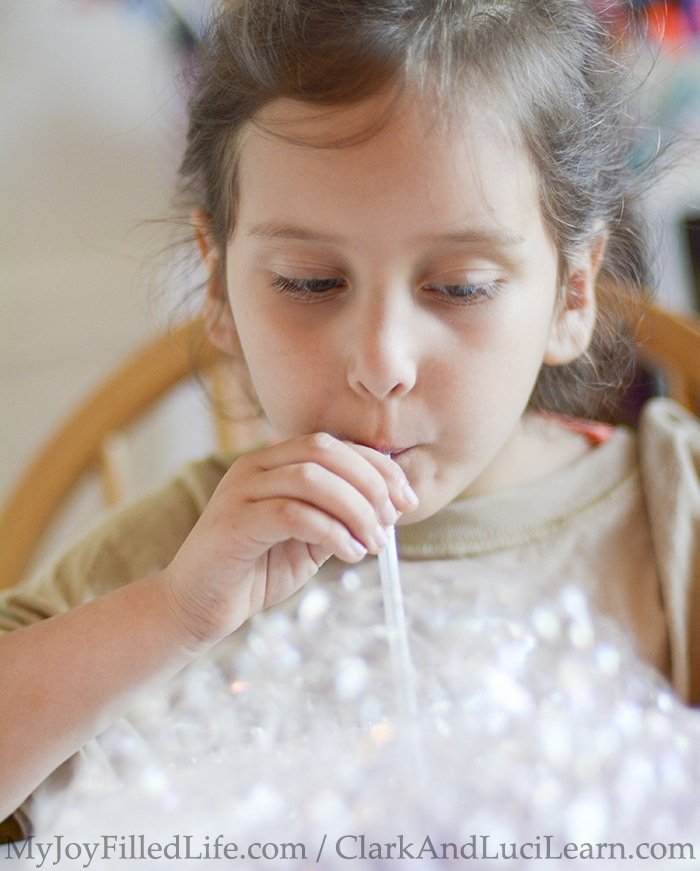
Bubble Flowers | Flores hechas con burbujas
MATERIALS | MATERIALES
White paper | papel blanco
A straw | popote
large dish | plato grande
Green construction paper or watercolor paints for the leaves | papel verde o pintura verde para hacer las hojas
Scissors | tijeras
White Glue | pegamento
acrylic paint | pintura acrilica
dish soap | jabón de trastes
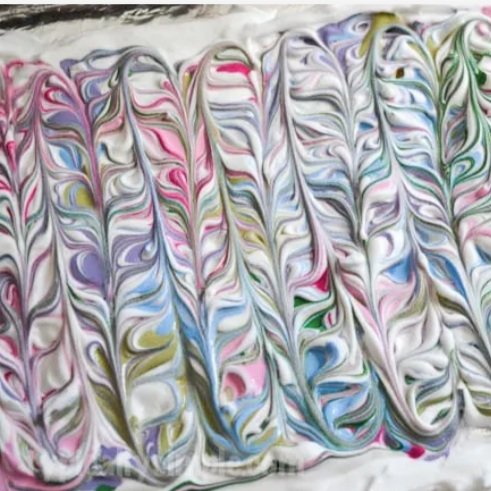
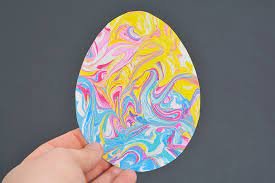
Marble Eggs with Shaving Cream | Marmoleado de huevo con crema para afeitarse
MATERIALS | MATERIALES
shaving cream | cream de afeitarse
card stock cut into egg shapes | papel cortado en forma de huevo
acrylic paint | pintura acrilica
tray or box lid | bandeja para hornear o tapa de una caja grande
fork or stick | tenedor o palito delgado
HOW TO DO IT | COMO HACERLO
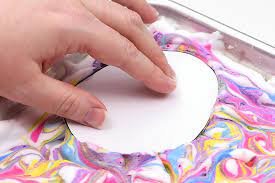
Spray shaving cream onto a tray or box lid and spread it around evenly.
Drop, squiggle, and squirt different colors of paint on top of the shaving cream.
Using a toothpick or the end of a fork start dragging the paint through the shaving cream making straight lines across.
Continue to do this but go up and down through the paint and shaving cream this time to get the marbled look.
Take a paper egg and press it on top of the paint and shaving cream, applying a bit pressure to push it into the mixture.
Pull up the paper and place on newspapers, painted side up.
Using another sheet of paper or fork, scrape off all of the shaving cream.
Allow paint to dry and then hang the marbled paper Easter Egg creations!
Rocíe crema de afeitar sobre una bandeja o tapa de caja y extiéndala uniformemente.
Pon gotitas diferentes colores de pintura sobre la crema de afeitar.
Con un palillo o la punta de un tenedor, comience a arrastrar la pintura a través de la crema de afeitar formando líneas rectas.
Continúe haciendo esto, pero esta vez suba y baje a través de la pintura y la crema de afeitar para obtener el aspecto veteado.
Toma un huevo de papel y presiónalo sobre la pintura y la crema de afeitar, aplicando un poco de presión para introducirlo en la mezcla.
Levante el papel y colóquelo sobre periódicos, con el lado pintado hacia arriba.
Con otra hoja de papel o el tenedor, retire toda la crema de afeitar.
¡Deja que la pintura se seque y luego cuelga las creaciones de huevos de Pascua de papel!
Spring Nature Collages | Collage de primavera con naturaleza
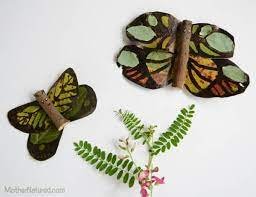
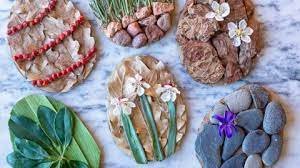
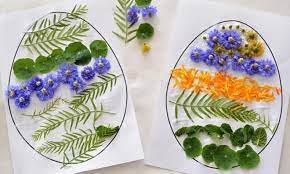
Nature collages are a great activity for all ages that allows you to get outside and be creative. Decide what shape your spring collage will have, perhaps a butterfly or an egg shape and draw the shape on paper. Then, go outside and collect leaves, sticks, rocks- anything that you think would look nice. The more colors and different textures, the better. Fill in your shape with a layer of glue and place your nature items on top as you like- simple as that!
Los collages de la naturaleza son una gran actividad para todas las edades que te permite salir al aire libre y ser creativo. Decide qué forma tendrá tu collage de primavera, tal vez una mariposa o un huevo, y dibuja la forma en papel. Luego, sal y recoge hojas, palos, piedras, cualquier cosa que creas que quedaría bien. Cuantos más colores y texturas diferentes, mejor. Rellena tu forma con una capa de pegamento y coloca tus elementos naturales encima como quieras, ¡así de simple!
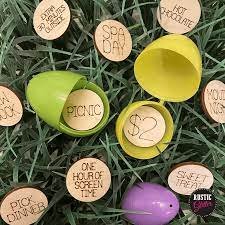
Egg Token Prizes | Fichas de premio en huevos
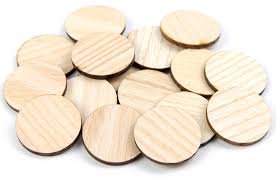
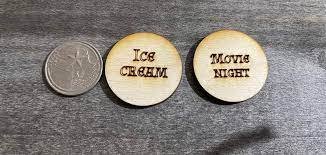
This activity is one that keeps giving, doubling as a gift idea and fun for the whole family! The original idea used wooden tokens to be more durable but pen and paper works too! Simply write down activities you can do together as a family on each one: movie night, choose a boardgame to play, go out for ice cream, make pizzas, paint nails, play soccer— any activity your family likes! Then, place one token in each egg. Give them in an Easter basket to use later, or open one each day you have some extra time, there´s no right or wrong way do to it- just do what works for you and your family!
¡Esta actividad sirve como idea de regalo y diversión para toda la familia! La idea original utilizaba fichas de madera para que fueran más duraderas, ¡pero el lápiz y el papel también funcionan! Simplemente escriba actividades que puedan hacer juntos como familia en cada uno: noche de cine, elegir un juego de mesa para jugar, salir a tomar un helado, hacer pizzas, pintar uñas, jugar fútbol... ¡cualquier actividad que le guste a su familia! Luego, coloca una ficha en cada huevo. Regálalos en una canasta de Pascua para usar más tarde, o abre un huevo cada día que tengas tiempo extra. No hay una manera correcta o incorrecta de hacerlo: ¡solo haz lo que funcione para ti y tu familia!
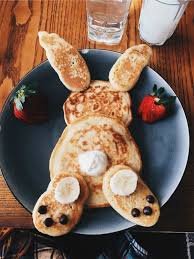
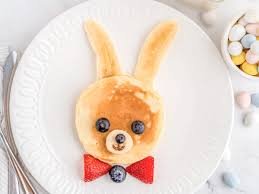
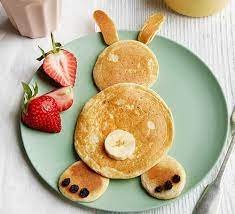
Themed Breakfast | Desayuno temático
Make a normal pancake breakfast extra special by using fruit, chocolate chips whipped cream, Nutella, sprinkles or any other ingredients you have around to make a cute Easter Bunny shape! Having different size circles of pancakes help give you a body, head, feet and ears for your bunny!
¡Haz que un desayuno normal de panqueques sea muy especial usando fruta, crema batida con chispas de chocolate, Nutella, chispas o cualquier otro ingrediente que tengas a mano para crear una linda forma de Conejito de Pascua! ¡Hacer panqueques de diferentes tamaños te ayudará a darle cuerpo, cabeza, pies y orejas a tu conejito!
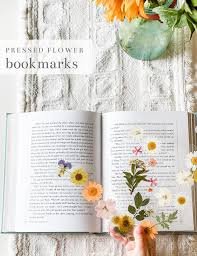
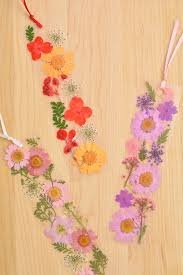
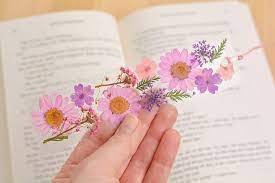
Flower Bookmark | Marcapáginas de flores
Materials | MAteriales
1 sheet Transparency film | 1 hoja acetate
Mod podge (MATTE)
Pressed flowers | Flores prensadas
5 inches Thin ribbon | 12 cm cinta delgada
hole puncher | perforada
paint brush | pincel
scissors | tijeras
How to make | Como Hacerlo
Here is a brief summary of how it is made, click on the button to see the original post with a full description
Cut the transparency film to make your book mark base (the size you like) and spread a thin layer of mod podge using a small brush on top.
Begin placing the pressed flowers on top of the transparent bookmark you cut, placing one, and going over it gently with another layer of mod podge. Repeat placing and using mod poge until your design is as you like.
To seal your design, cover the entire area with flowers with 2 more layers of mod podge, giving about 20-30 minutes to let your book mark fully dry in between layers.
Once sealed and dry, punch a whole at the top and string your ribbon through and tie it off to complete your bookmark!
Aquí tienes un breve resumen de cómo se elabora, haz clic en el botón para ver el post original con una descripción completa.
Corta la hoja acetate para hacer la base de tu marcapáginas (del tamaño que desees) y extiende una fina capa de mod podge con un pincel pequeño encima.
Comienza a colocar las flores prensadas encima del marcapáginas transparente que cortaste, coloca una y repásala suavemente con otra capa de mod podge. Repita colocando y usando mod poge hasta que su diseño quede como desee.
Para sellar su diseño, cubra toda el área con flores con 2 capas más de mod podge, dejando entre 20 y 30 minutos para que el marcador se seque por completo entre capas.
Una vez sellado y seco, haz un agujero en la parte superior, pasa la cinta y átala para completar tu marcapáginas.

